The Content Library enables you to store, manage and insert images (e.g. your club logo, header and footer image) into your email sendout. It also offers great possibilities to even store and manage other file types, such as pdf, csv, Excel spreadsheets, and PowerPoint presentations and use the files to be linked in your email sendout.
Through this feature, you are able to enhance the visualization of your newsletters and communicate with your supporters more actively with great convenience. Experience a neat and well-structured file storage which even allows you to create and share a public URL of each file, allowing people without access to see the file.
How it works #
Now you can find the content library on the sidebar on the left side of your CDP screen.
The maximum storage of the content library is 3GB for each organisation. The maximum size of each file is 5MB. If you are in need of increasing the maximum storage threshold, please contact your Customer Success Manager.
Naturally, you will be able to delete your files from the content library and will by default stay in the recycle bin for 30 days in case you would like to restore them. The file types you can store are:
JPG, JPEG, PNG, GIF, DOC, DOCX, CSV, XLS, XLSX, PPT, PPTX, and PDF.
Upload a new file #
You can upload your files into the content library in two ways:
Upload a file directly on the content library page
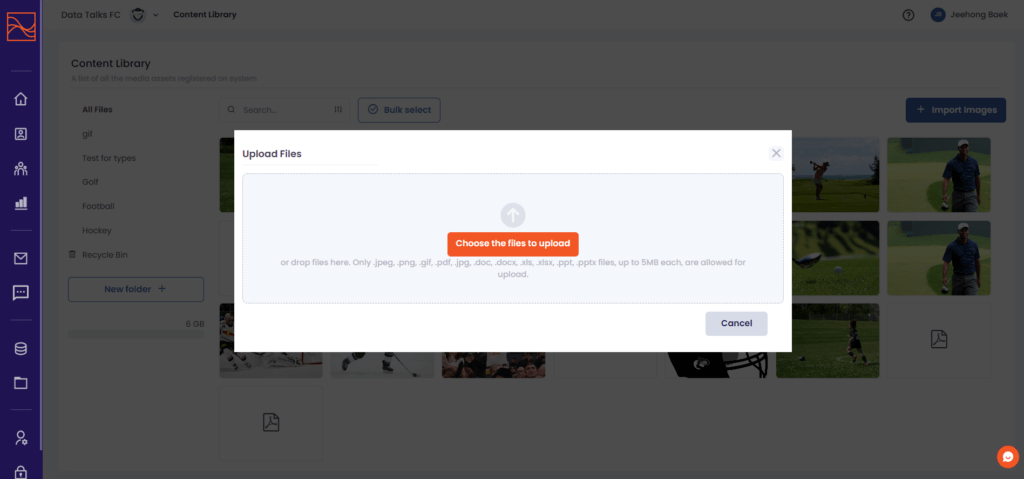
Step 1: Click “Import Images” in the right upper corner
Step 2: Click “Choose files to upload” in the popup. Please note the allowed file types and the file size limitation.
Upload it through the email builder #
Step 1: Drag and drop the image block in the email template editing page
Step 2: Check the popup of the content library and upload your images by clicking “Import Images”. The image files you upload through the email builder are stored so that you can check them on the content library page as well
Manage the uploaded files #
Check file details #
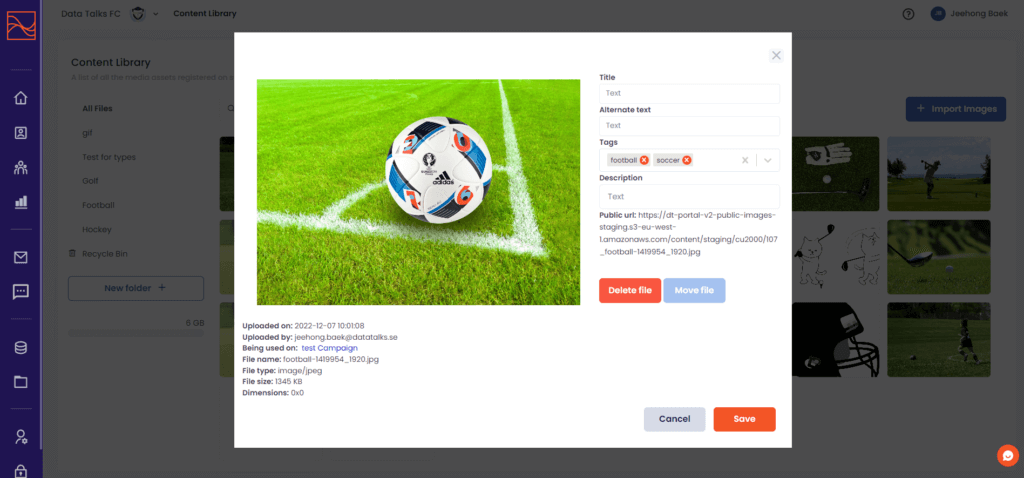
When you click on a thumbnail of an uploaded file, you will get detailed information about that file. You will be able to see when the file was uploaded and who uploaded it, the image file size and its dimensions, the public URL, and on which email campaign the image file is being used. You can also check and edit the title, alternative text, the tags for it, and the description of the image. Moreover, you can delete the file or move it to a folder on the detail popup.
Categorising files into folders #
You can categorise your images and files into folders and subfolders, which allows you to have a more organized view of the content library. Click the “New Folder +” button on the lower side of the sidebar and check the folder created. You can rename it, delete it and create a new subfolder under the folder by clicking the 3 dots right next to the folder’s name. If you want a file to be moved to a folder, click the file thumbnail and click the “Move file” button on the file detail page. If you want several files to be moved at once, click the “Bulk Select” button on the upper side.
Categorising files with tags #
You can catalogue your images and files by attaching tags to them. For example, let’s assume that you want to categorize your image as ‘soccer’. You can then type ‘soccer’ in the tag section on the file detail page and add the tag ‘soccer’ to the image. The categorisation by tags is meaningful because you can use the tags in the filter section when searching for specific images, allowing you to easily find specific images more quickly.
Finding specific files using filters #
You can freely use the filters that the content library offers to categorise and find specific files. You can apply specific tags, file size range, specific file types and file upload date range. It will be helpful especially if you have a number of files in your content library.

Deleting existing files #
To delete a specific file, click on the “Delete File” button on the file detail page. To delete several files at once, please use the “Bulk Select” and then click on the “Move to recycle bin” button. Once you delete the files through one of these ways, the deleted files will go to the recycle bin and be stored there for 30 days. You can restore them whenever you want for 30 days from the delete date. If you want to clear the bin to delete the files permanently, go to the recycle bin in the sidebar and click the “Delete Permanently” button.
How to use the files in the Email Builder #
As mentioned above, you can upload a new file through the email builder and use it right away. If you want to make use of the existing files in the content library, go through the same process to drag and drop image blocks and choose which image file you want in the popup of the content library. In the email preview, you can see how your image(s) you added will look in your email campaign.