The feature Email Builder enables you to launch email campaigns directly from our CDP if you do not already have another Marketing Automation tool and want to create email campaigns in an easy and user-friendly way. With the Email Builder you can create emails without the need of any HTML coding knowledge in just a few minutes.
You can create your own email sendout strategy, define the subject of your email, pick one or more Segments of customers to target, design your email template by using drag-and-drop and you are all set to communicate.
To really reap the benefits of our CDP you can use the Email Builder with any of your data that you bring into the CDP to be able to target the right audience with the right message. You can use any of the fields that are related to a particular customer and go all-in with personalization!
How it works #
This guide will guide you step by step through the feature Email Builder and how you can use it to easily start creating relevant and personalized email campaigns.
Navigating the Email Builder Homepage #
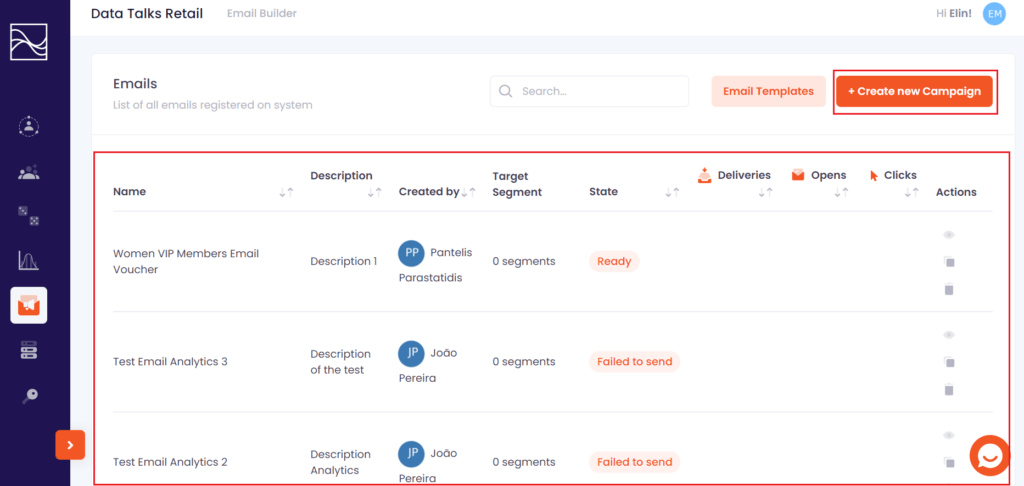
- By clicking the Email Builder icon on the left-hand side menu you will be directed to the Email Builder Homepage.
- In the Email List, you can see all of your created Email campaigns. You can click any of them to see the Campaign and edit existing campaigns.
- By clicking an already existing Campaign you are able to edit the Campaign by clicking on it. You are able to change the scheduling or the name of a specific campaign.
How to create a new Email Campaign #
- Click the Create New Campaign button.
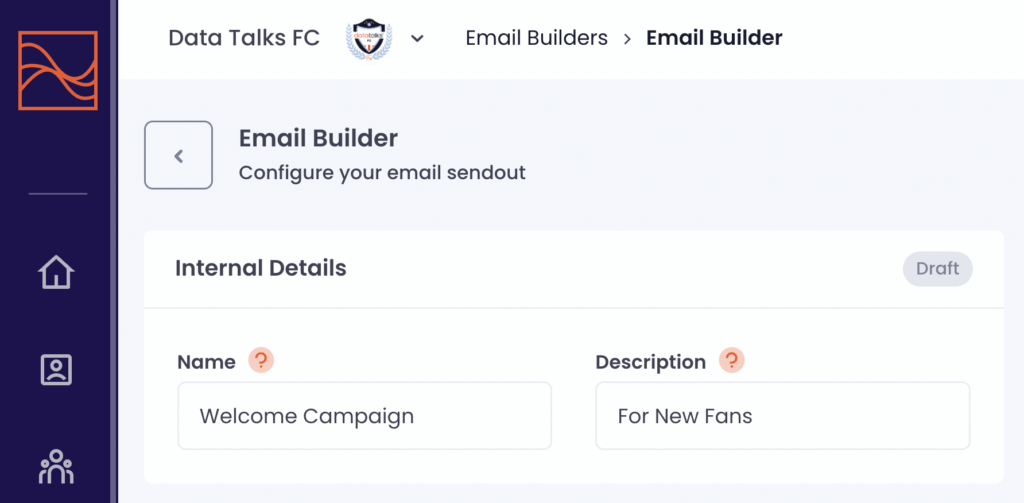
- Set Internal Details: They are only shown to you and internal users and invisible to the recipients of the email campaign. Please set the name and description which you can easily recognise.
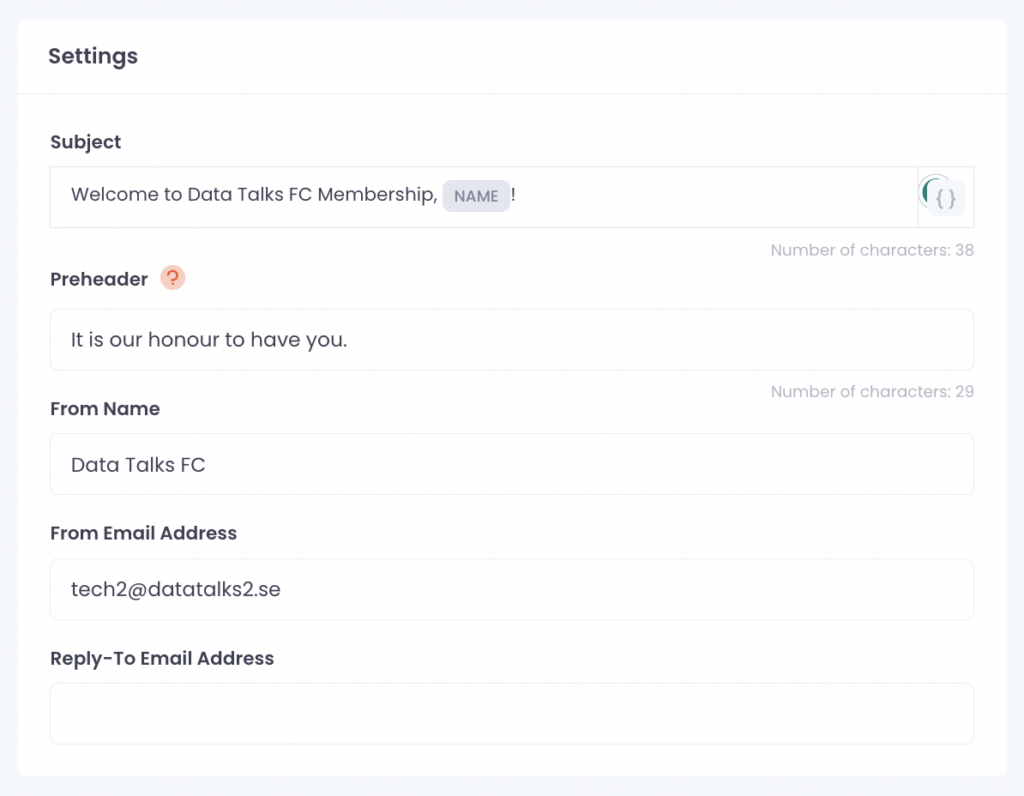
- Set the email Settings:
- Subject: This is the Subject line that will appear in the Email sent to the recipients. You can include personalization fields in the subject line as well, by clicking the {} icon on the right.
- Preheader: This is the short text that follows the Subject line when viewing an email from your inbox. We recommend you use 30 – 80 characters.
- From Name: This is the sender name that will appear in the Email sent to the recipients. You are able to edit this name.
- From Email Address: This is the sender email that will send the emails and appear in the Email sent to the recipients. It is set during the email builder configuration and you cannot edit this address. If you would like to change the address, please contact your CSM.
- Reply-To Email Address: This is the recipient email that will receive the replies if the recipients of this email campaign send the replies. It is set during the email builder configuration and you cannot edit this address. If you would like to change the address, please contact your CSM.
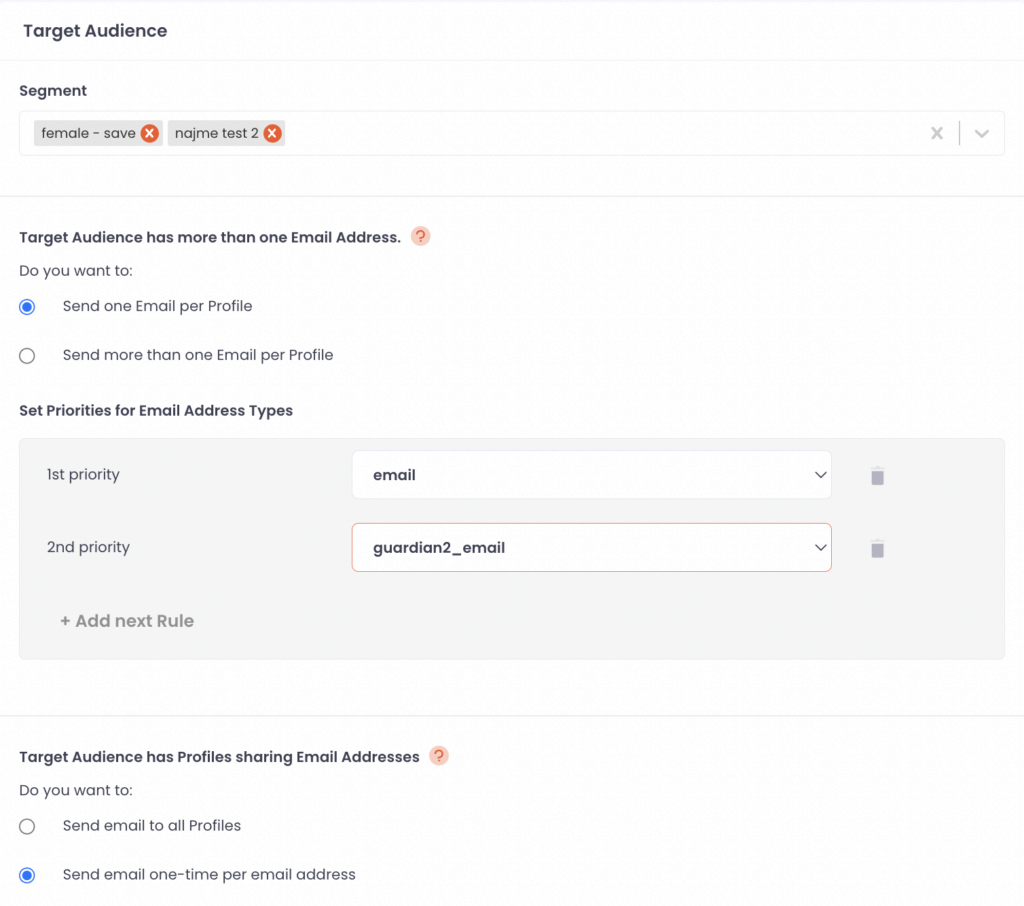
- Target Audience: Set the recipients to which you are going to send your campaign.
- Segment: Choose the segment you would like to target. If the chosen segments include profiles which exist in the CDP with various email addresses, the additional section for the profiles shows up. (4-2)
- If Target Audience has more than one Email Address, you are able to choose to
- Send one Email per Profile: You will send the email sendout to only one email address among the ones the profile has. You can choose which email address among them will receive your email sendout with the priority rules. You are able to set up to 3 priorities to avoid the situation the profile does not receive any email because the first priority email is not valid. If the first priority email is not valid, the second priority email will be used for the sendout and the same for 3rd priority email.
- Send more than one Email per Profile: You will send the email sendout to multiple email addresses the profile has. You can choose which email addresses you would like to send the sendout. If the chosen email address is shared among several profiles included in the Target Audience, the additional section for the email address shows up. (4-3)
- If Target Audience has Profiles sharing Email Addresses, you are able to choose to
- Send email to all Profiles: You will send the email sendout to the times the email addresses are shared. E.g. If 3 of profiles are sharing the email address, you will send the email sendout 3 times
- Send email one-time per email address: You will send the email sendout only once regardless of the time the email addresses are shared. E.g. Even through 3 of profiles are sharing the email address, you will send the email sendout only once.
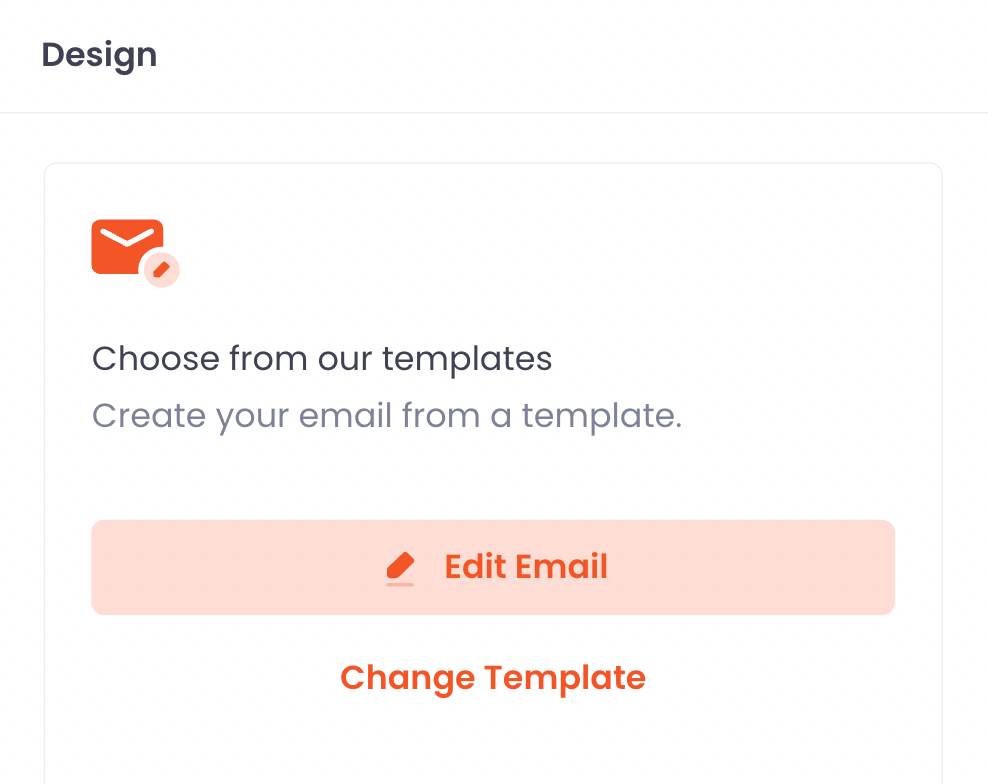
- Design – Choose the email template
- Click Select Template to choose an email template to work with.
- Choose Template you want among the preset templates.
- You are able to see the preview of the email template. You are also able to edit, add, and delete every element of the template upon your need by clicking Edit email and change the template by clicking Change Template.
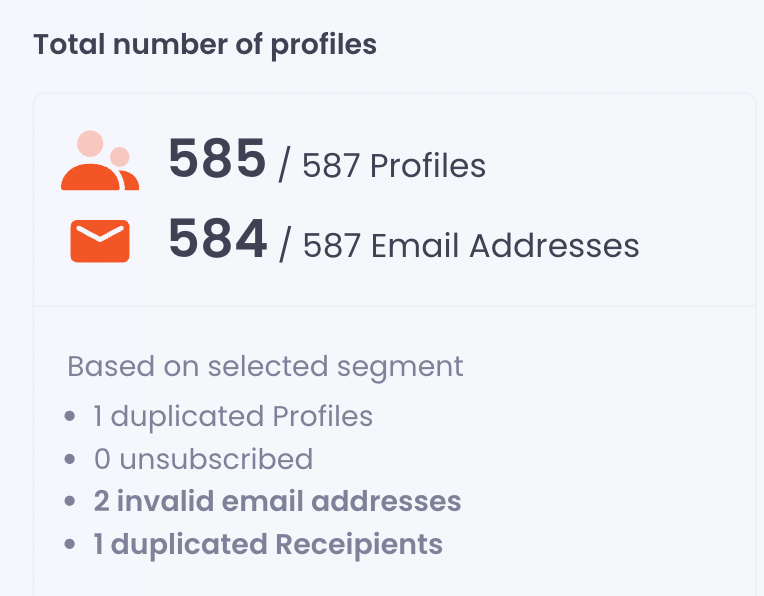
- Total number of profiles: You are able to see the number of profiles and the number of email addresses included in the selected segments and expected to receive the email sendout. The discrepancy between numbers is based on these:
- Duplicated Profiles: If there are some profiles that exist in multiple segments you select simultaneously, the CDP detects them and keeps only one while merging the segments for one recipient list for the sendout.
- Unsubscribed: If there are profiles or email addresses that have unsubscribed from marketing campaign, they are excluded from the recipient list.
- Invalid email addresses: If there are email addresses which have been detected as invalid, they are excluded from the recipient list.
- Duplicated Recipients: If there are email addresses which are shared among multiple profiles, the CDP detects them and keeps all of them or only one of them according to your decision (Please refer to 4. Target Audience – c.)
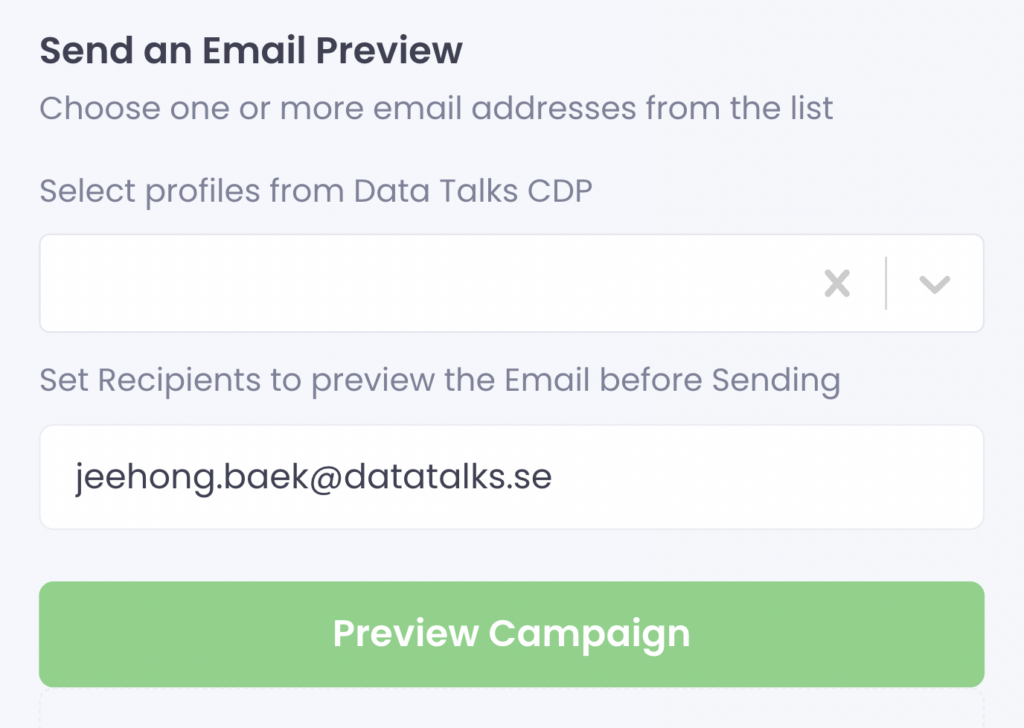
- Send an Email Preview: You are able to send a preview sendout and choose the sender and receiver of the preview sendout. Please choose one or more email addresses from the list of the dropdown for setting sender address of the preview sendout and click Preview Campaign button.
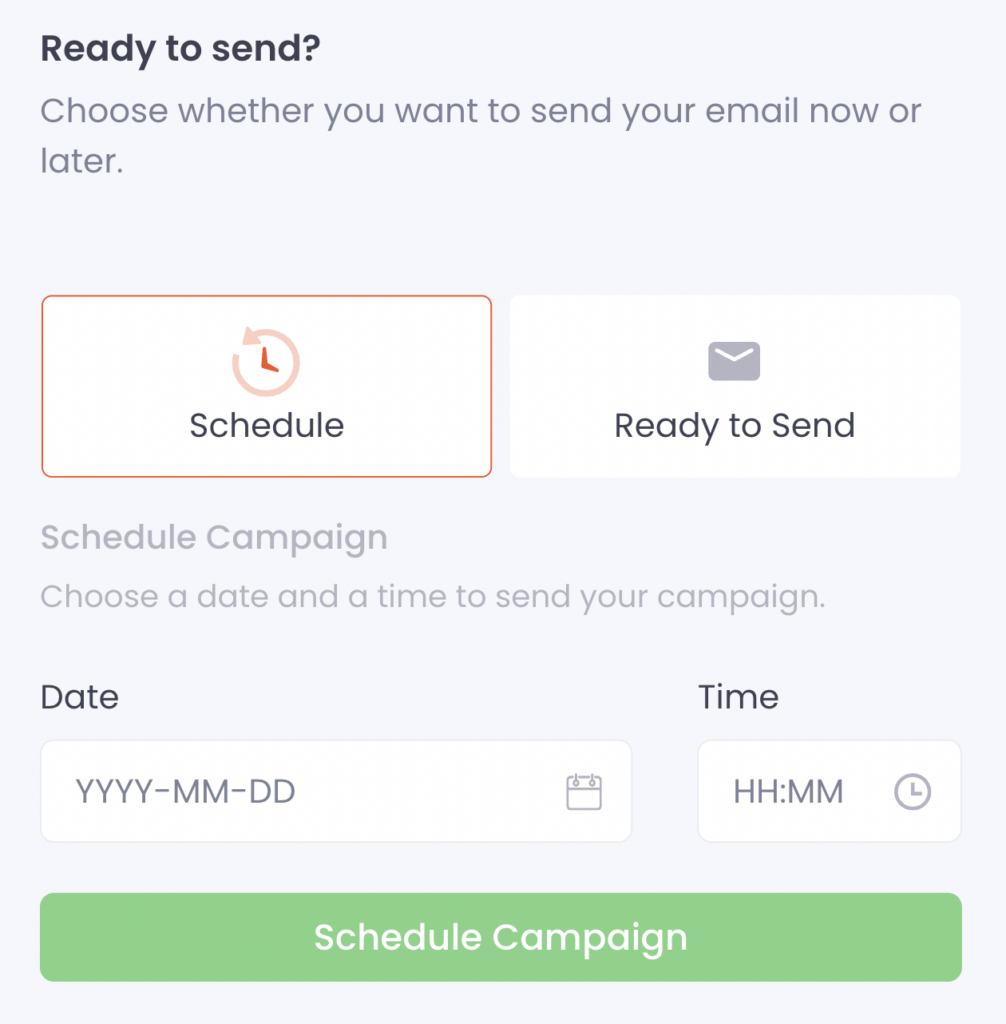
- Ready to Send?: You are able to choose whether to send the email sendout right away or to schedule the sendout. If you would like to send it right away, please click Ready to Send button and ‘Send Campaign’. If you would like to send it later, please click Schedule button, set the expected datetime, and click ‘Schedule Campaign’.
- Save Changes: If you click ‘Schedule Campaign’ or ‘Send Campaign’ in step 8, the sent or scheduled campaign will be automatically saved. If you would like to leave the campaign as a draft and without scheduling or sending, you can save the campaign with ‘Save Changes’ button.
You can revisit your campaign and see overview details on the Email Builder Homepage.
How to configure your Template in the Template Designer #
- If you choose a Template from our library you will have some content components to work with, but you are able to design your template from scratch as well. This section of the guide will take you through the basic settings in the Template Designer and what they mean. If you want to see specifically how you can perform basic tasks such as how to upload an image, change logo, insert a link, and cloning and removing objects.
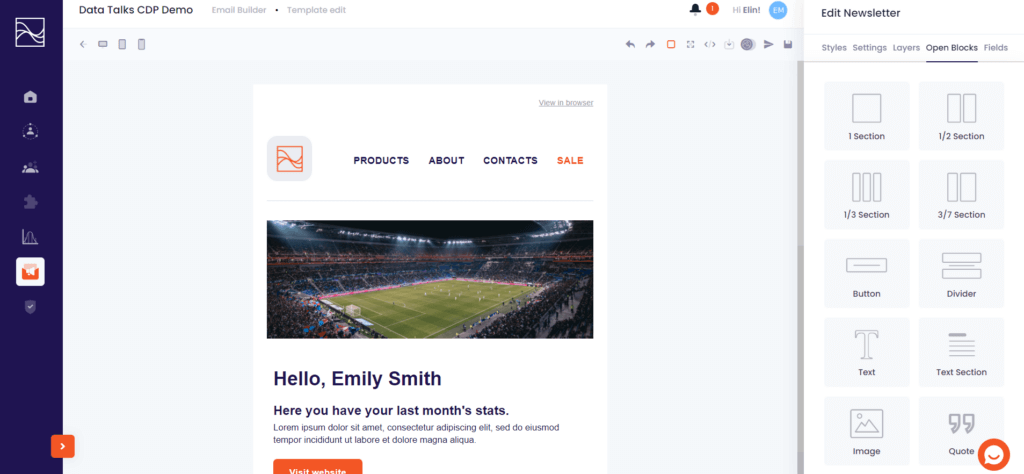
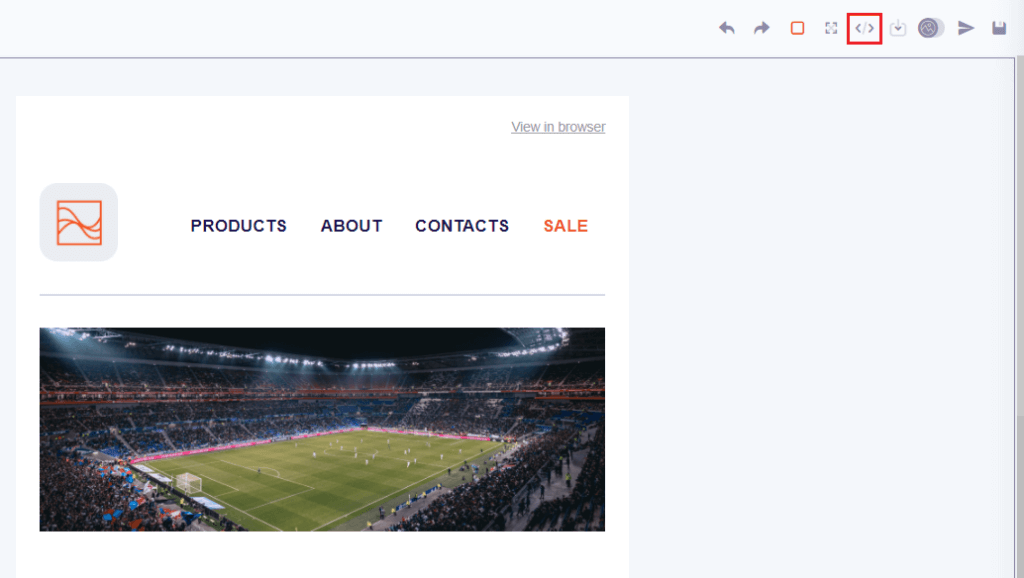
- This is our Template Designer, which below, is populated with one of our pre-made templates ‘Sports Template 1’.
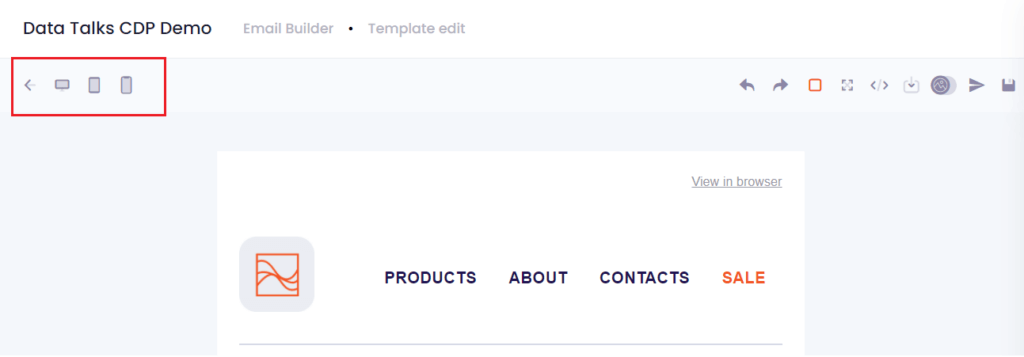
- In the top navigation bar there are a few important quick functions that you can use. If you hover with the mouse over it a descriptive text will appear. From left to right they are:
- To view the template in desktop mode (this is the default mode).
- To view the template in tablet mode.
- To view the template in mobile mode.
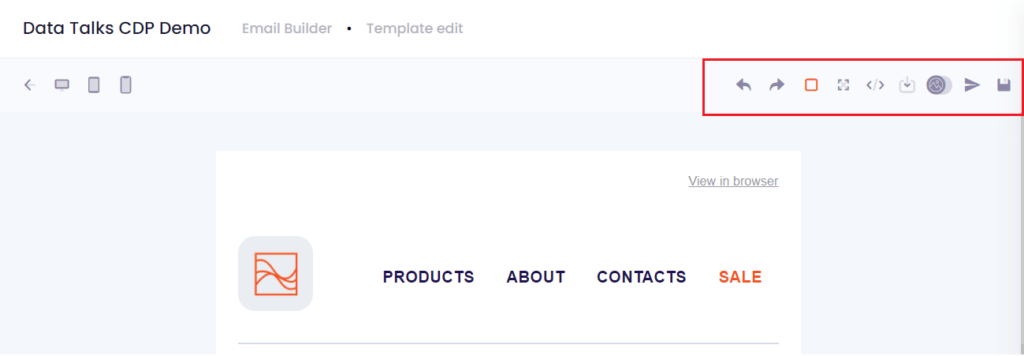
- On the right side of the bar the following functions are available:
- Undo an action
- Redo an action
- View components
- Full screen
- View code – HTML code will be available for export
- Import template – Click here to import any HTML code
- Toggle images
- Test newsletter
- Save template
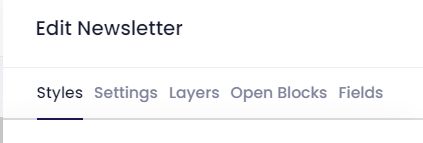
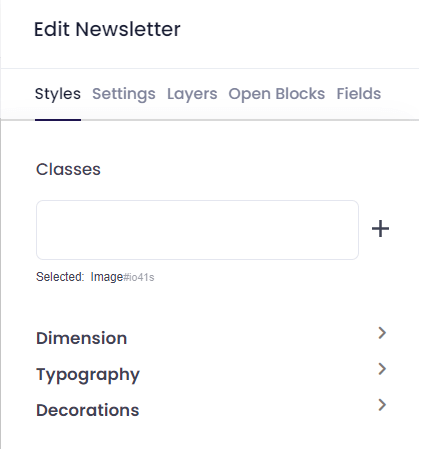
- On the right hand side of the template the main settings bar is located with the “Styles”, “Settings”, “Layers”, “Open Blocks” and “Fields” tabs.
- By clicking Styles this tab will be available. Whatever element you have clicked on will be reflected in the Classes box. By clicking on a specific element you will be able to change the Dimension, Typography and Decorations.
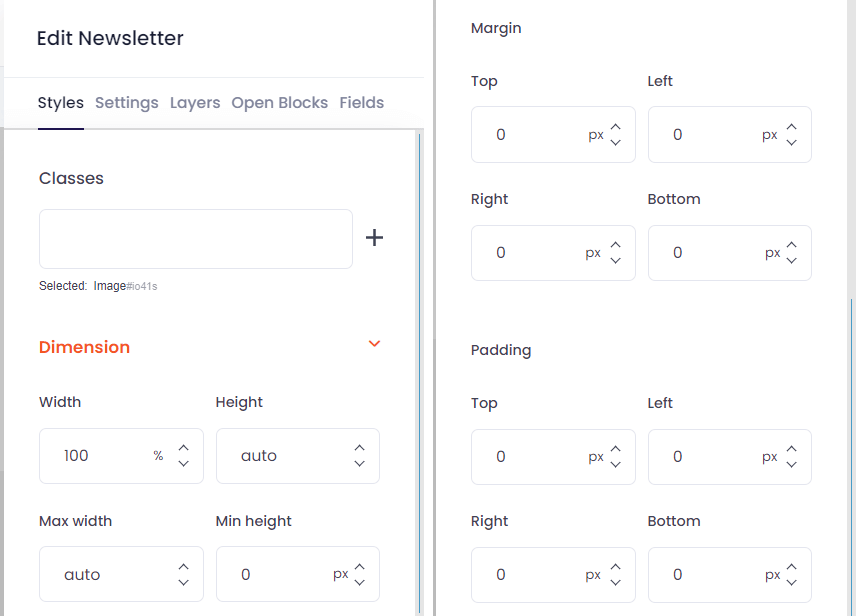
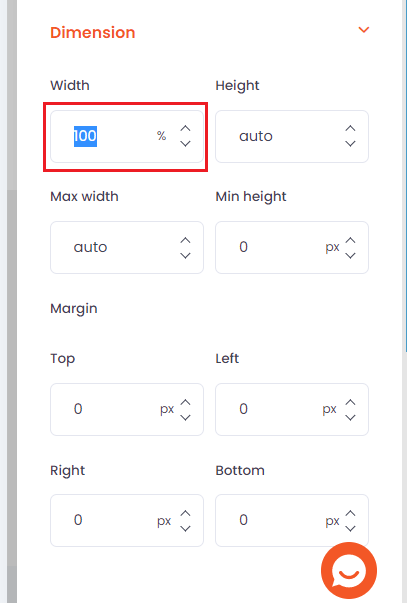
- These are the settings available under Dimension. Here you can adjust the width and height of your element. You can also adjust the Margin and the Padding of a specific element.
- Margin refers to the margin of an element that separates it from another element.
- Padding is inside the margin and dictates where the content is located within an element.
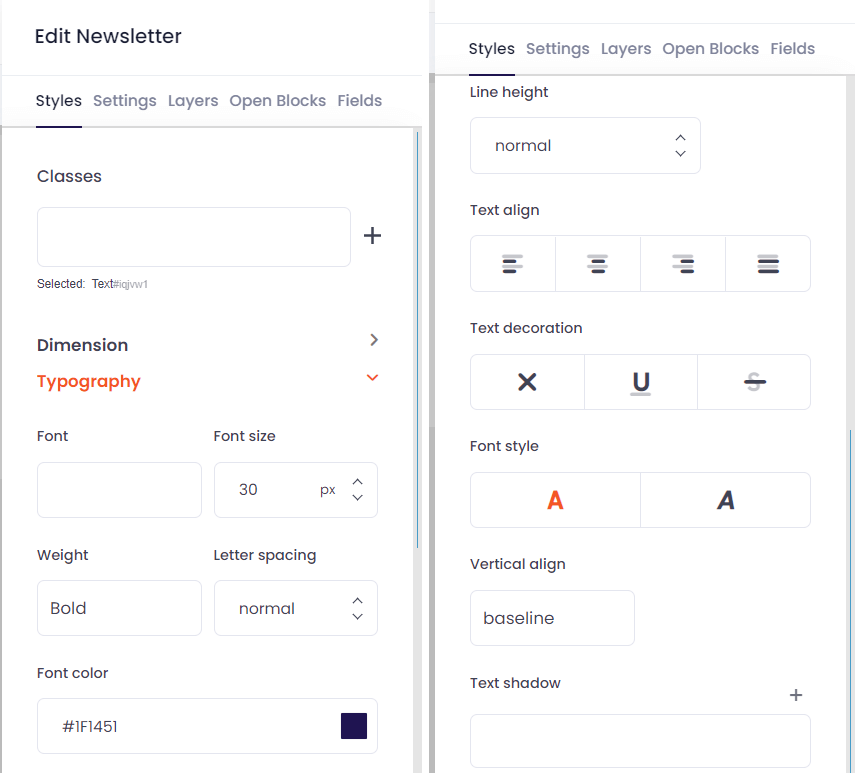
- Under Typography, the settings below are available. You are able to change the font (NOTE! There are only a specific set of fonts that are accepted in all email clients. This is not that we do not support those fonts, but the limitations of email clients e.g. Gmail, Outlook etc). Click on the font box to see what fonts are available. You are also able to set other general typography settings here.
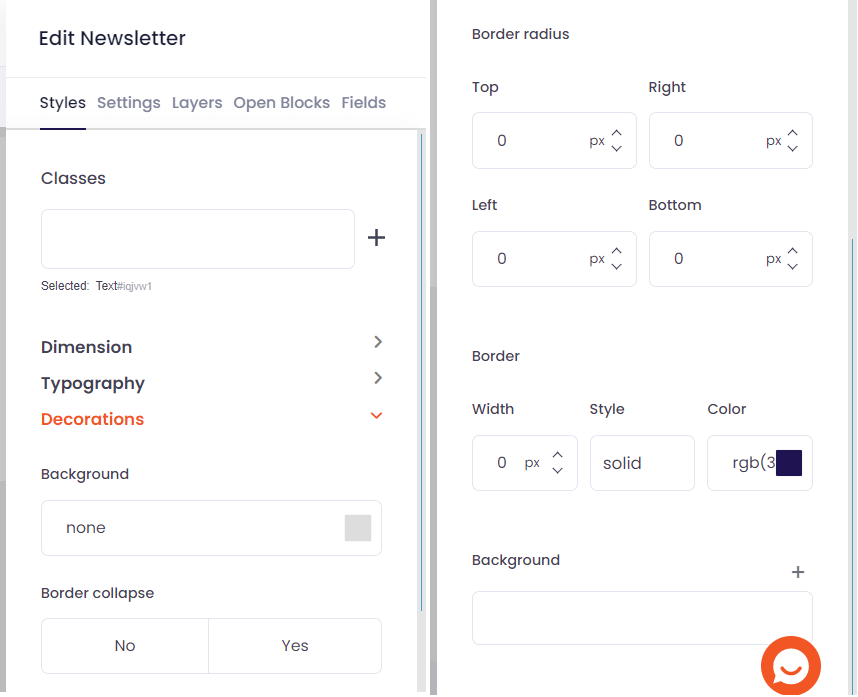
- Lastly, under Styles, you can alter the Decorations. Here you can change background colors of your specific elements, if you want your border collapsed or not, if you want your image to have rounded corners you can change the border radius and if you want a border around an image.
- Keep in mind that for the elements you want to alter there might be several layers, so if you are not able to alter a specific element try to go one layer above and change it there.
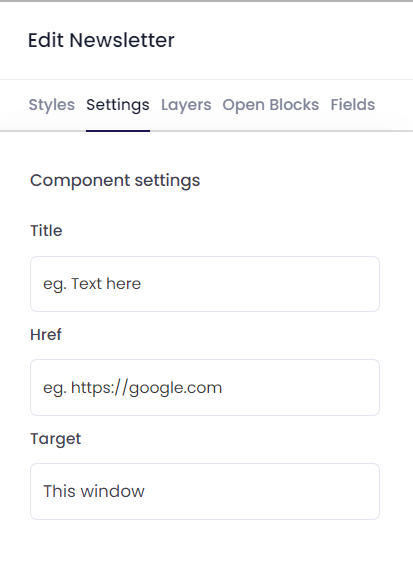
- Next, click the Settings tab. Here you can access the component setting for each specific element, i.e. you need to click an element in order to change the component settings. The component setting do not change the style but rather the behavior. E.g. if you want to link a CTA from a button you can choose here if you want it to be opened in a new window and which link that should be used.
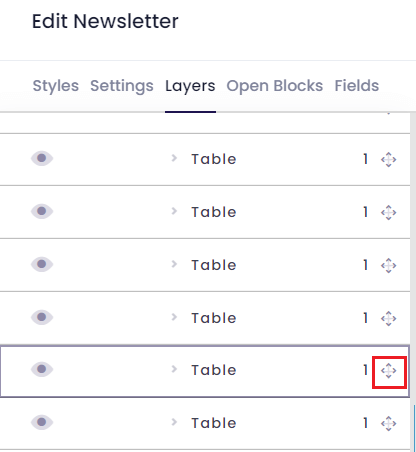
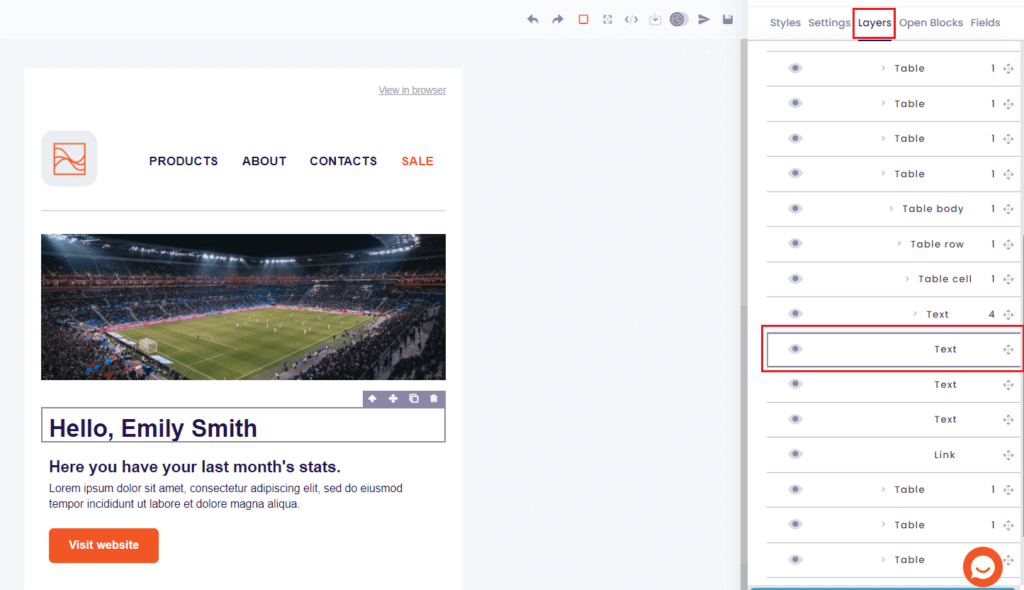
- Next, you have the Layers tab. Here you will see all the different layers of the HTML-template structured in a list. By clicking an element you can easily see where it is located layer-wise. The structure is from the top of the template to the bottom. If you want to move a specific element you can also do it here by clicking the icon in the red box below and moving it up or down, and it will change location accordingly in the template.
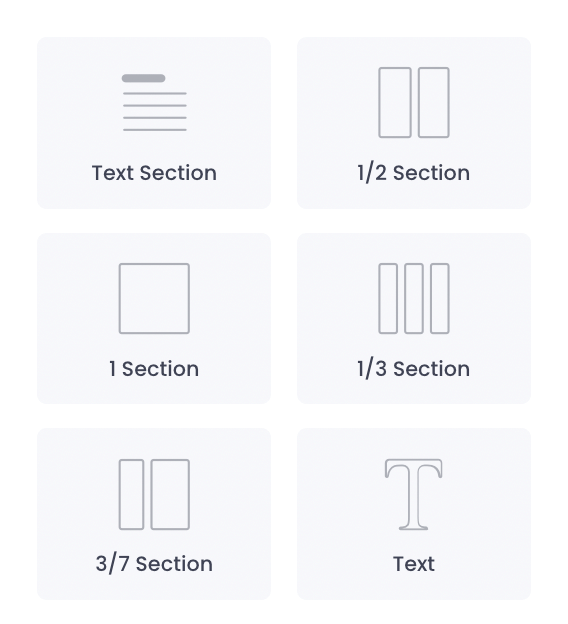
- Now, click the Open Blocks tab. Here you will be able to see all of the types of elements you are able to work with. If you are creating a template from scratch this is especially important. By using drag and drop you can include the different types of elements in your template. The different types of blocks are:
- Sections – Different sections with different amounts of columns, as seen on the icons. Each section can contain text, buttons, images etc.
- Text or Text section – Add a text box or a section.
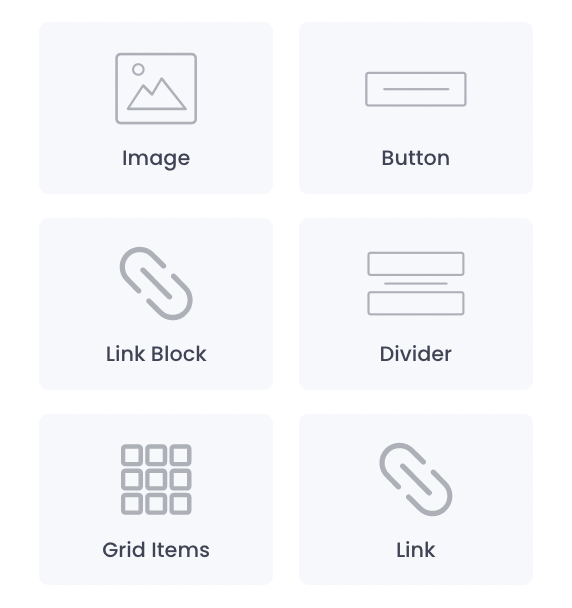
- Image – Add an image. If you activated Content Library, you are able to use existing images in Content Library to your email sendout and the images you newly upload in Email Builder will be saved in Content Library automatically.
- Button – Add a button to be redirected other page, such as your website.
- Link Block – It can turn any element such as image into a link.
- Divider – Put space between two elements.
- Grid items – Combination of title, text and image in a grid view.
- Link – Add a hyperlink.
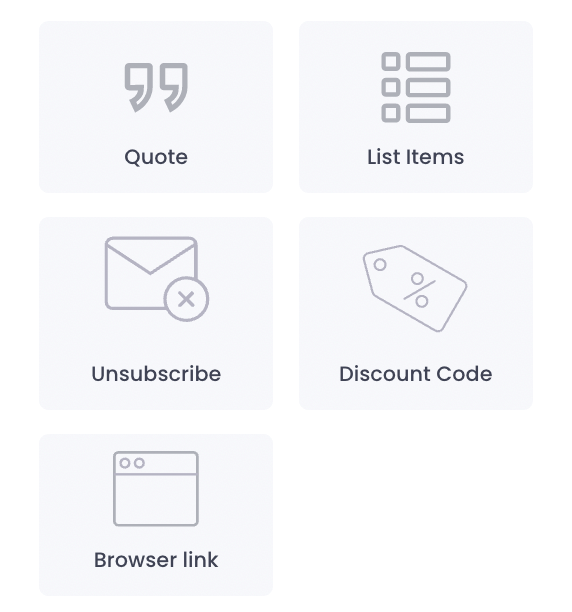
- Quote – Add a quote.
- List items – Combination of title, text and image in a list view.
- Unsubscribe – Add an option to be opt-out for recipients.
- Discount Code – You can insert your discount code list existing in the CDP as forms of text, link, and button.
- Browser link – Add a browser link.
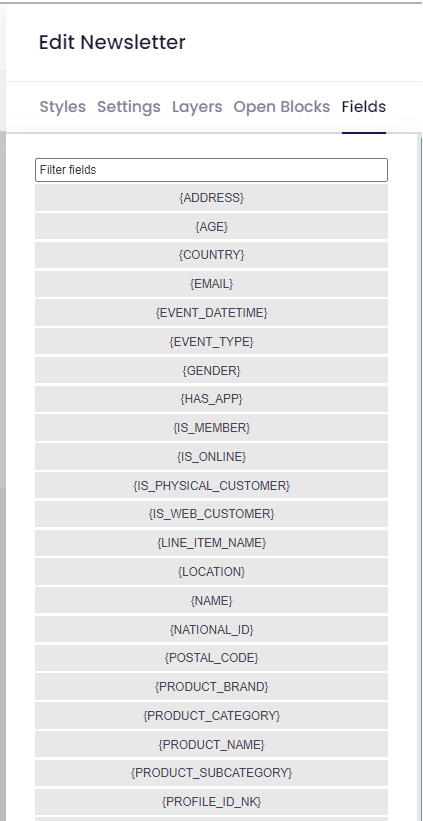
- Lastly, click the Fields tab. Here you can view the fields that can be populated for the specific segment(s) you want to send the campaign to. For each Profile that you are targeting you have specific data or details, and these fields will be used in the template and later populated with the real data for each recipient. So, if you use these dynamic fields you are able to increase your personalization. For example by including the field {FIRST_NAME} you are ensuring that for each recipient this field will be populated with the recipient’s name.
- Simply drag and drop which field you want to use.
- If you do not have data to populate it with, you can add a default value to the fields. E.g. Hello “there” instead of Hello {Name}.
- Click Save to save your template changes and click the arrow in the upper left corner to go back to the Email Builder campaigns page and finalize your campaign (see guide above How to create a new Email Campaign).
How to edit an existing template in the Template Designer #
Below are step-by-step guides to how you can perform some basic tasks in the Template Designer.
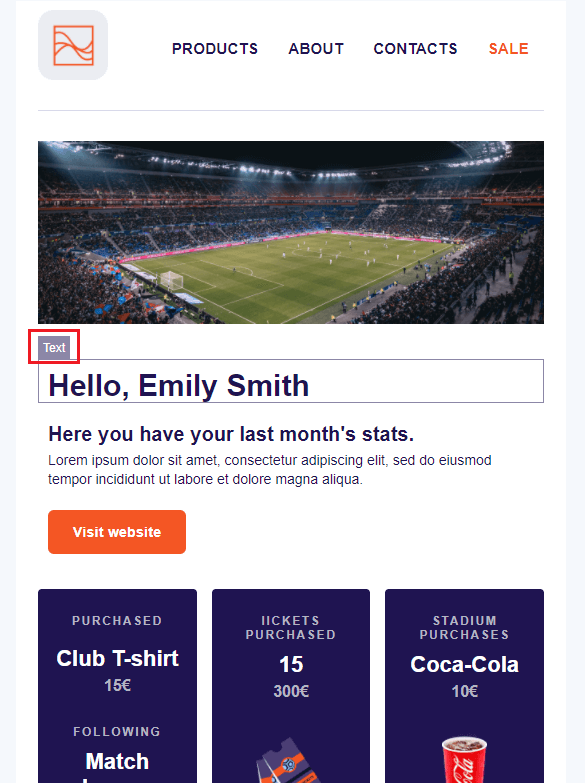
Identify an element
- To see what type of element an element in the template is, simply hover with your mouse over an element and it will state either e.g. text, link or image.
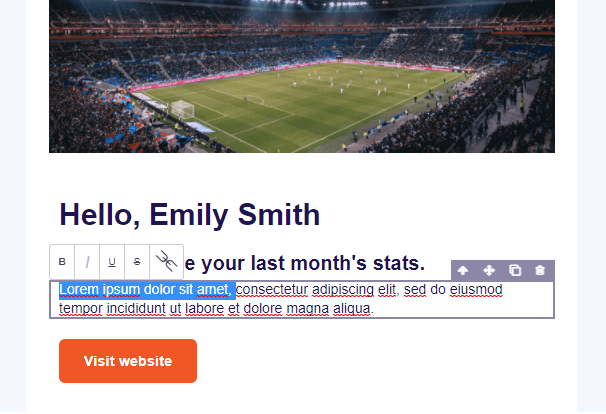
Edit an existing text block
- To edit text in an existing text element, simply double click the text and replace it with your own text.
Insert a link
- Mark the text you want to appear as a link, and click the ‘link symbol’ marked in the red square below.

- Click somewhere else and then click on your link. Click the Settings tab where you can change which URL the link should go to in the ‘Href’ box marked in red below.

- By default in email clients windows open in a new window so choose this option from the drop-down menu in the Target box.
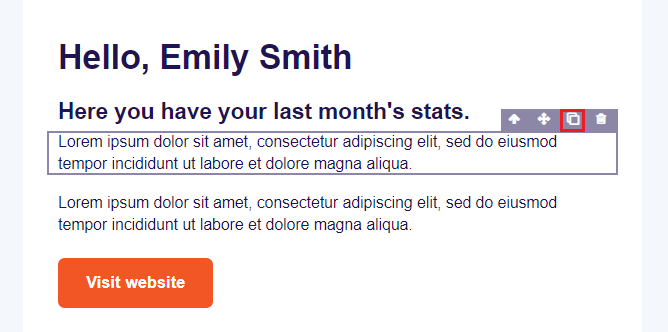
Clone an element
- To duplicate an existing element, mark the object and click the duplicate symbol marked in red below. Then an exact copy of the chosen element is created below, which you can move somewhere else.
Insert an image
- Place your mouse on an image placeholder and you will see that it states ‘Image’.
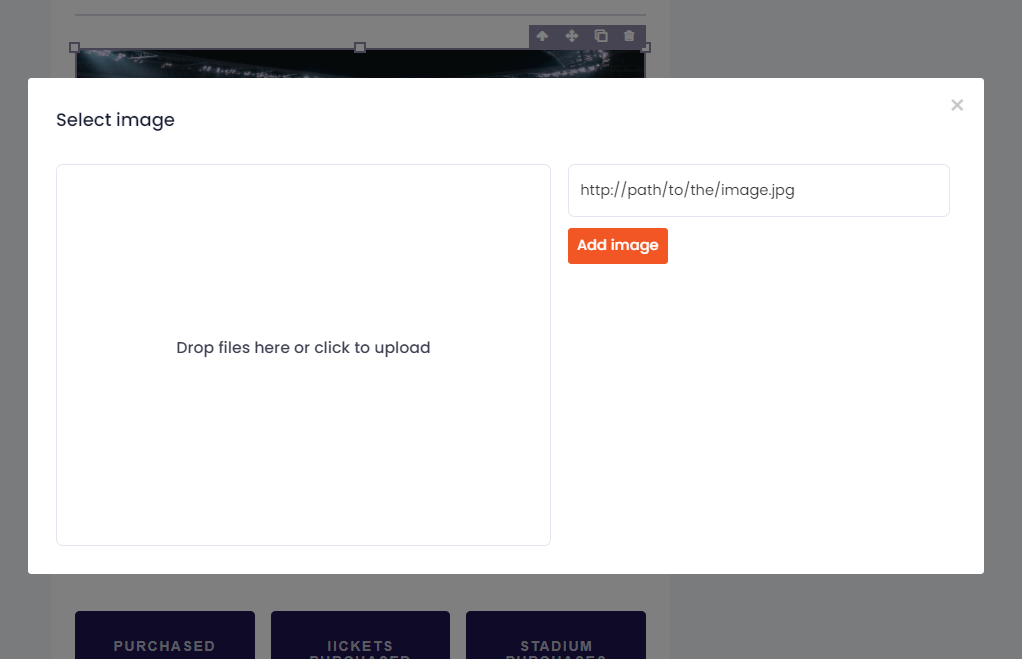
- Double click the image and the pop-up window below will appear, where you can upload your image or paste the image URL.

- The absolute safest way to guarantee that the image displays correctly is to upload the image to avoid being affected if the image URL changes in the future.
Insert a logo
- Place your mouse on the default logo and you will see that it states ‘image’.
- Double click the logo and the pop-up window below will appear, where you can upload your own logo or paste the logo URL. NOTE: The logo that you upload must be 86x86px in the templates, otherwise the menu where the logo is located will break.
Change the size of an image
- If you want to change the size of an image that you have uploaded, first click the image and go to the Styles tab and the Dimension section.
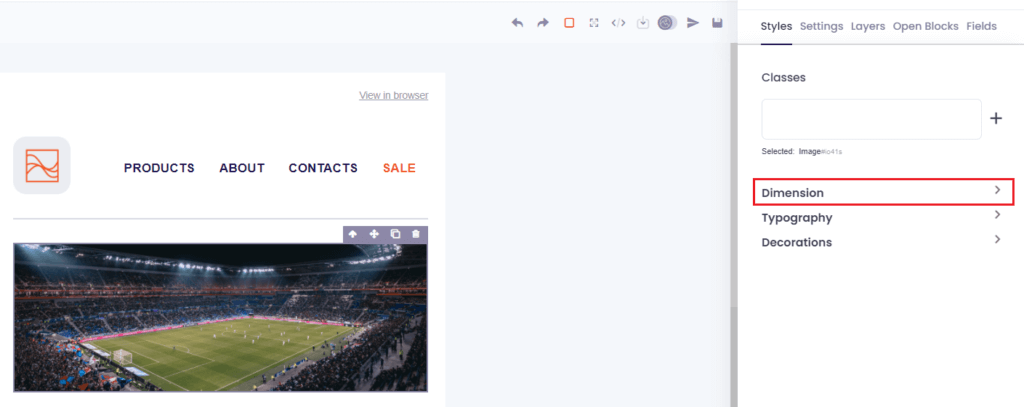
- To optimize how an image is displayed in different email clients it’s best to use the option of setting the size according to percentage % instead of defining the size in pixels. This image for instance is set to take up 100 % of the space in the template. If we change it to 60 % it will only take up 60 % of the surface etc.
Change positions of existing elements
- The template is HTML-based, which means that the template consists of different elements in different layers. By this logic, there can be several elements located within an element, but on a deeper layer.
- To understand where the elements in the template are located, first click the element and then go to the Layer tab where in the template that specific element is located.
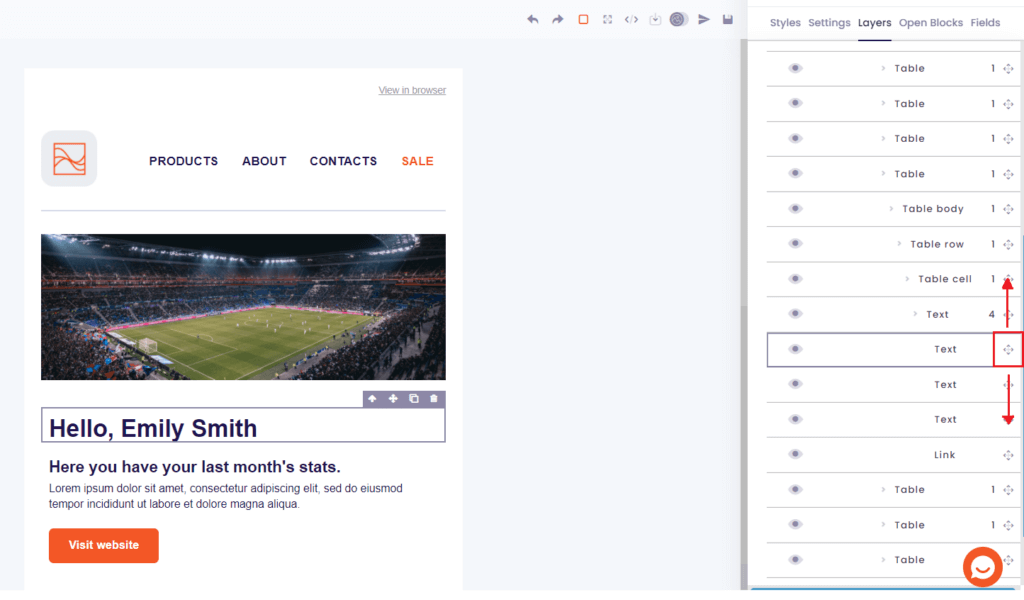
- The absolute best way to move an element,to ensure that they don’t appear in another element by mistake, is to move it by using the icon on the right (marked below) in the Layer tab. Click it, hold it in and then move it up or down the layer structure. It will rearrange accordingly in the template to the left so that you can see directly where you moved it.
- You can also move the element by clicking it and moving it around directly within the template. Then you can click the element and see in the Layer tab where you placed it within the structure.
Create a column
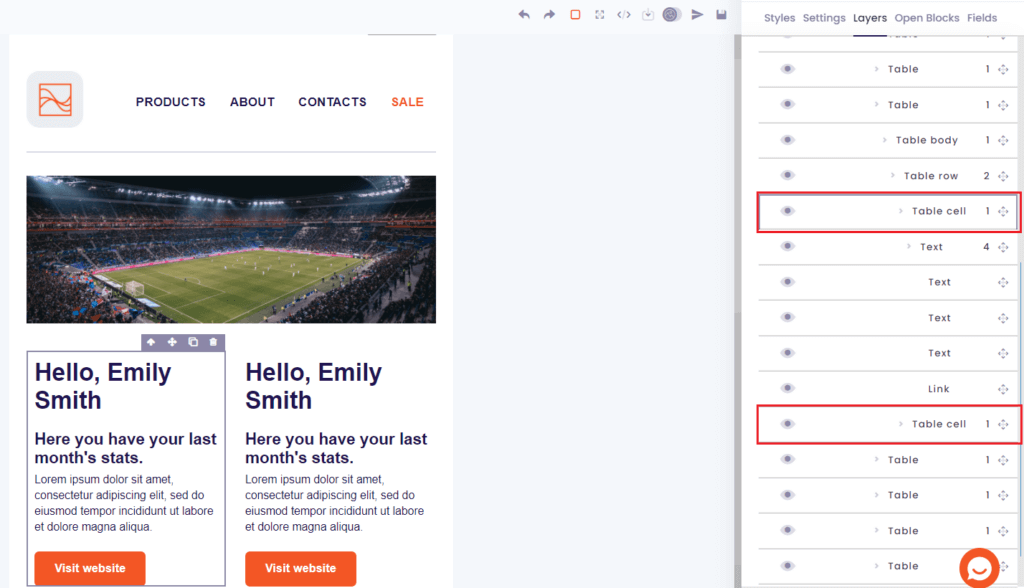
- If you want to create more columns of text in your template you have to make sure you copy the table cell and not the table row (where the text element is located). To do this, open the Layer table and mark the text which you want to create a column of.
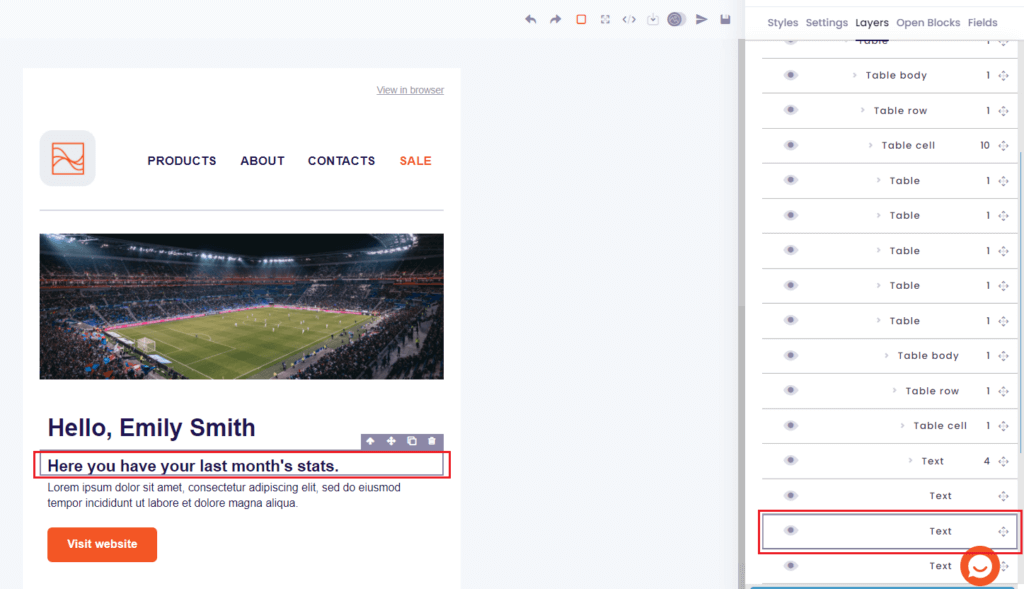
- Look for the table cell and mark it so you can see which element you are copying.

- Either use the duplicate icon to clone it or Copy & Paste using Control + C and Control + V. You will then have two separate table cells, as shown below.
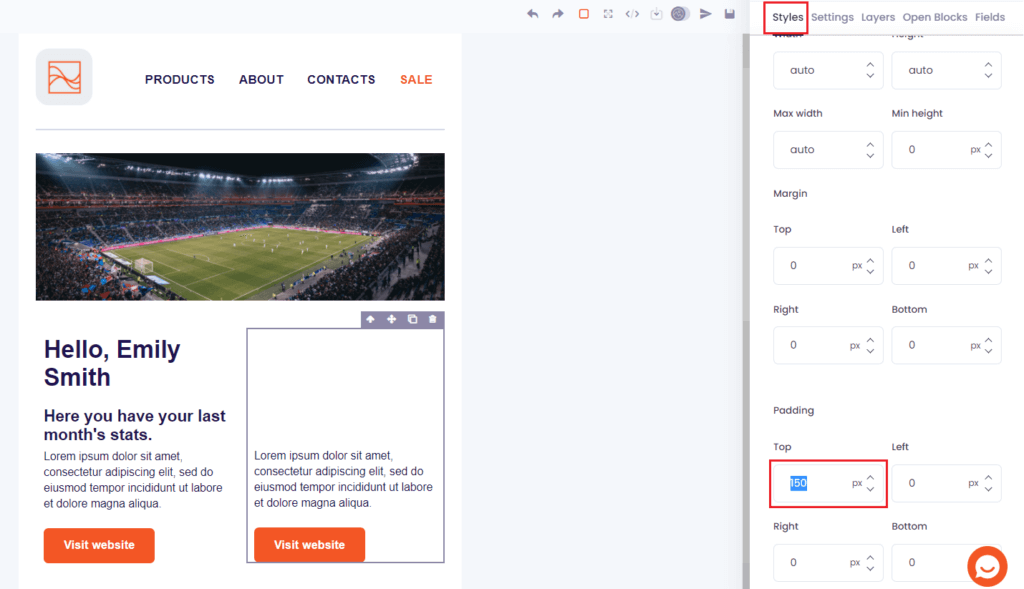
- Remove the elements within the table cell that you don’t want to appear in the copy. To move the text down within the table cell, go to the Styles tab and adjust the padding. Add 150 px padding to the top here to ensure that the texts in each column are on the same level in this example.
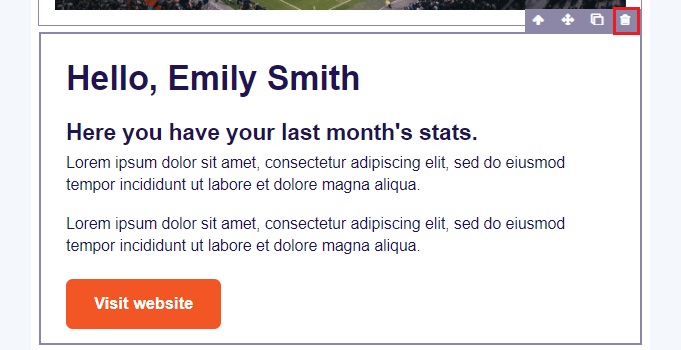
Remove an element
- To remove an element, mark the element with your mouse and click the trashcan-icon that appears (marked in red in the image below).
Add a personalization field
- If you want to add personalization to your campaign, click the Fields tab to see which personalization fields that are available to you.
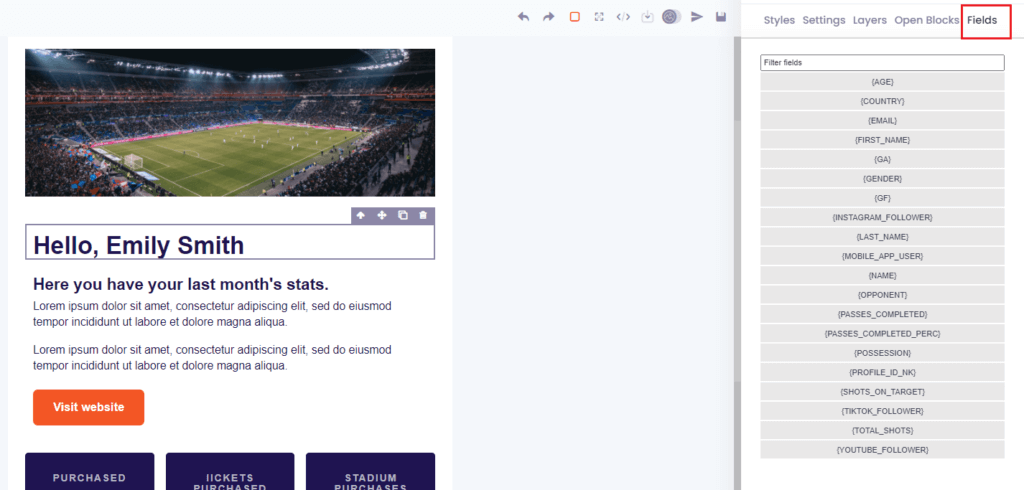
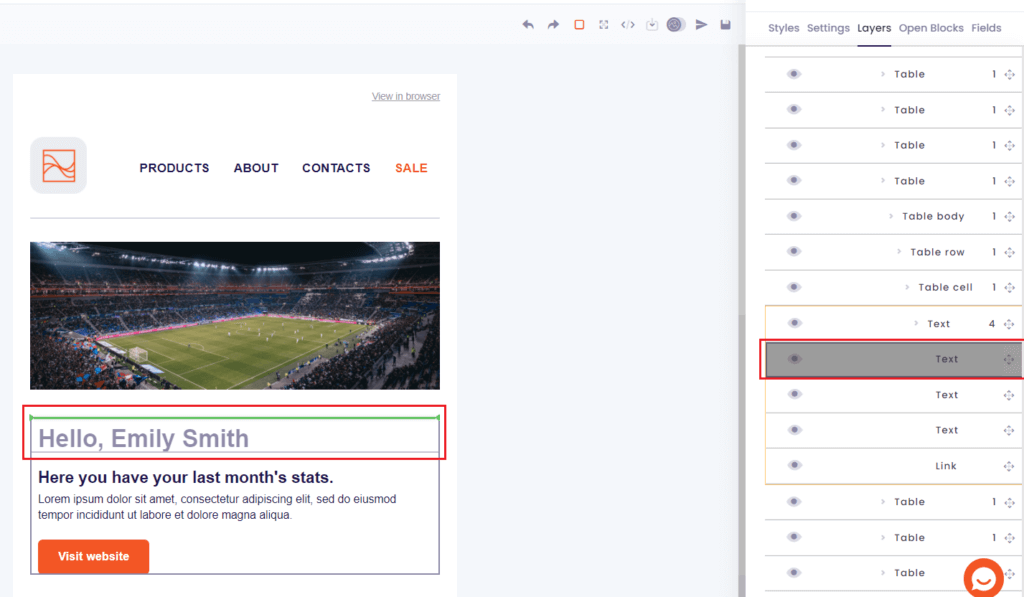
- By dragging and dropping you can add a personalization field directly to your template. For instance this name ‘Emily Smith’ is written in text and we want to replace it with a name personalization field instead. Pick the First_name personalization field, drag it to the text element and drop it and it will look like in the image below.

Export and import HTML-code into your template
- Click the View code symbol in the upper panel to view or export the template’s HTML code.
- If you want to import code on the other hand, click this Import templates symbol and paste the HTML-code.

Email Analytics #
After you have sent an email campaign, tracking the success of the campaign is crucial to see what you could potentially improve. Email Analytics are available in the Email Builder after you’ve sent a campaign. It allows you to track important metrics like open rate, click rate, and unique opens and clicks.
Email List
- In the Email List section, the first page you see when clicking the Email Builder, the first set of email analytics are available. This allows you to get an overview of how all of your email campaigns have performed and you can easily compare respective metrics.
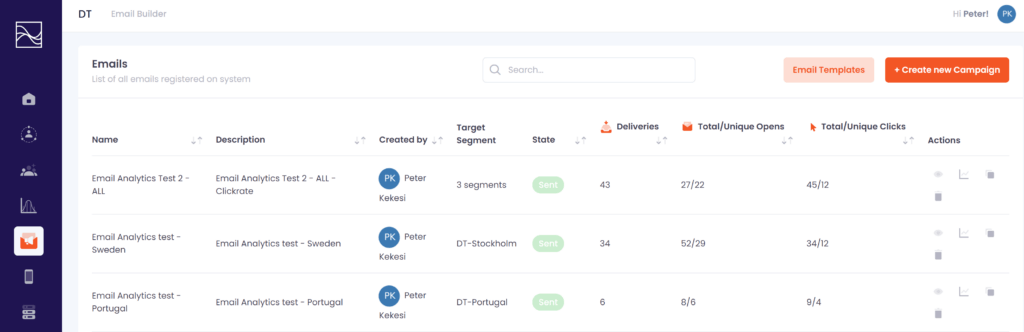
- In the Email List section, the following metrics are available:
- Deliveries: The total amount of emails successfully delivered.
- Total/Unique Opens: The total number of opened emails and the number of how many opens are unique. For example if one person opens an email 3 times it will show as 3/1.
- Total/Unique Clicks: The total number of clicks in all emails and the number of how many clicks are unique. For example if one person clicks 3 times it will show as 3/1.
Email Campaign
- In each campaign, after you have sent it, you will have individual KPIs available when you click on a specific campaign.
- Scroll down to the bottom of the page. On the top you can see the details such as which segments is was sent to and the actual content and template that was used on the right.
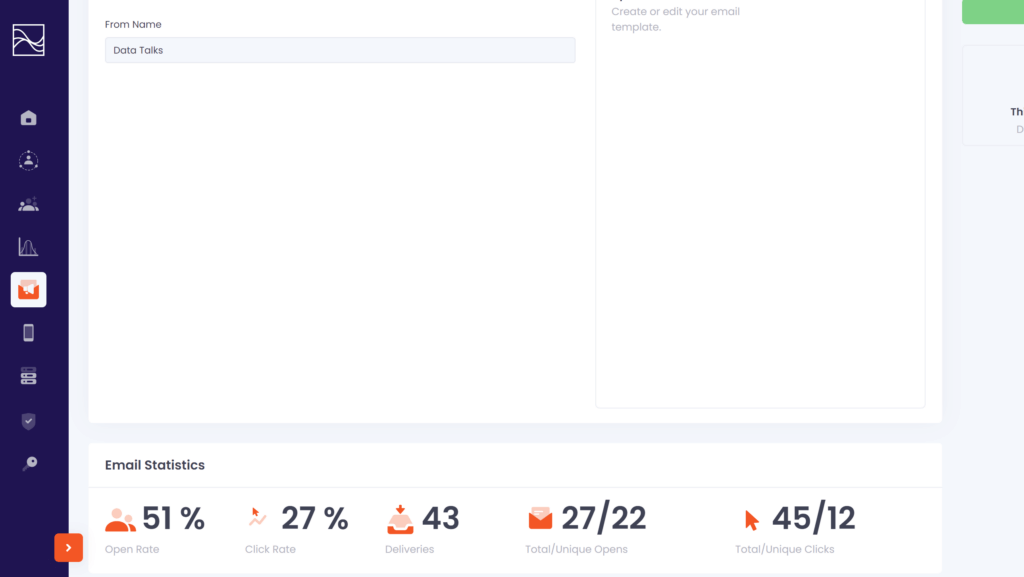
- In the Email Statistics the following KPIs can be found:
- Open rate: The percentage of taking the unique number of recipients who opened the email, and dividing by the numer of emails that were successfully delivered.
- Click rate: The percentage of taking the unique number of recipients who clicked on a link in the email, and dividing by the number of emails that were successfully delivered.
- Deliveries: The total amount of emails successfully delivered.
- Total/Unique Opens: The total number of opened emails and the number of how many opens are unique. For example if one person opens an email 3 times it will show as 3/1.
- Total/Unique Clicks: The total number of clicks in all emails and the number of how many clicks are unique. For example if one person clicks 3 times it will show as 3/1.