In order to set up your Data Points we need to get your data into our CDP. To simplify this process as much as possible we have created our Data Onboarding feature, which allows you to define the data you want to use in our CDP in a really easy way. When you have defined your data we will be able to automatically collect it either via our API or if you want to send the data via CSV/JSON files.
We also have predefined Data Onboarding templates for Sports and Retail to allow you to quickly onboard your data and get going with our CDP.
How it works #
This guide will guide you step by step on how you can use the Data Onboarding feature to define your data.
Configuring your overview #
- By clicking the Data Onboarding icon in the left hand side navigation bar you are redirected to the Data Onboarding Overview page. Here you can see the different Data Points categories:
- Profile Data
- Events Data
- Inventory Data
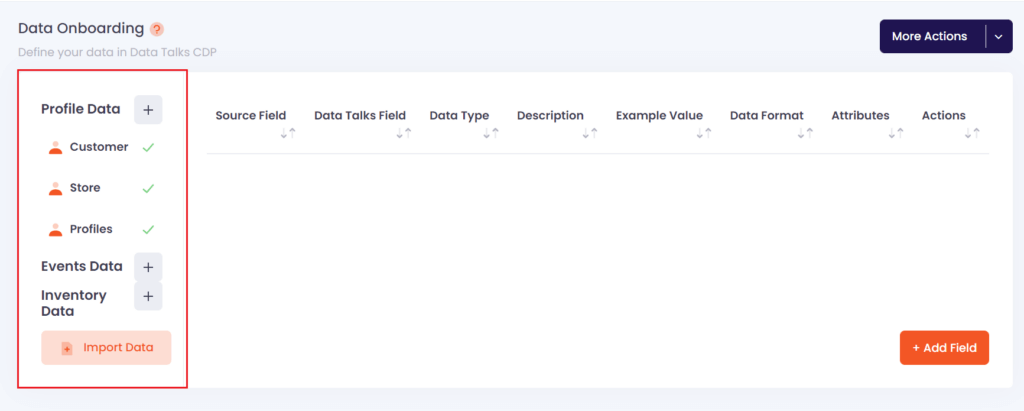
- Below each Data Point category you can add the Data Point Type subcategories that you want separated. There are more examples of which Data Point Types you may want to have in the Data Points page.
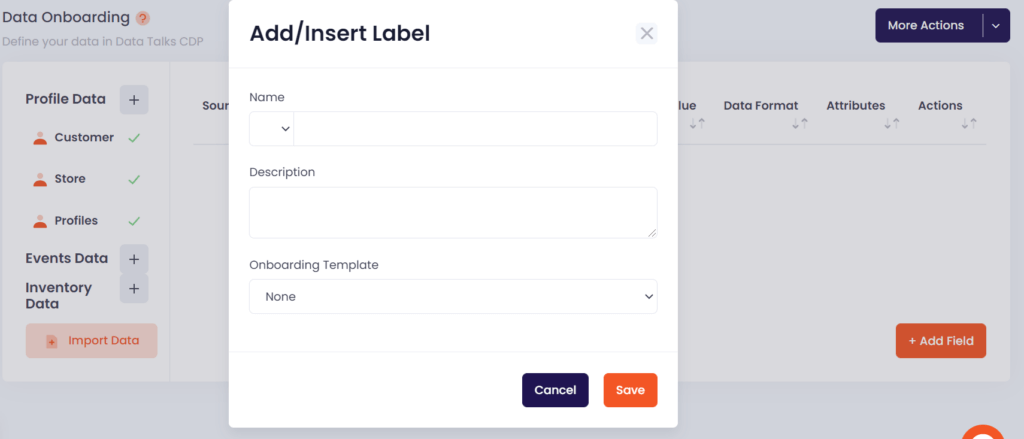
- By clicking on the [+] to the right of each Data Point category you will be prompted to give the Data Point Type subcategory a name and a description. Under the ‘Onboarding template’ option you are able to choose to populate the Data Point Types with any of our predefined templates for Sports and Retail.
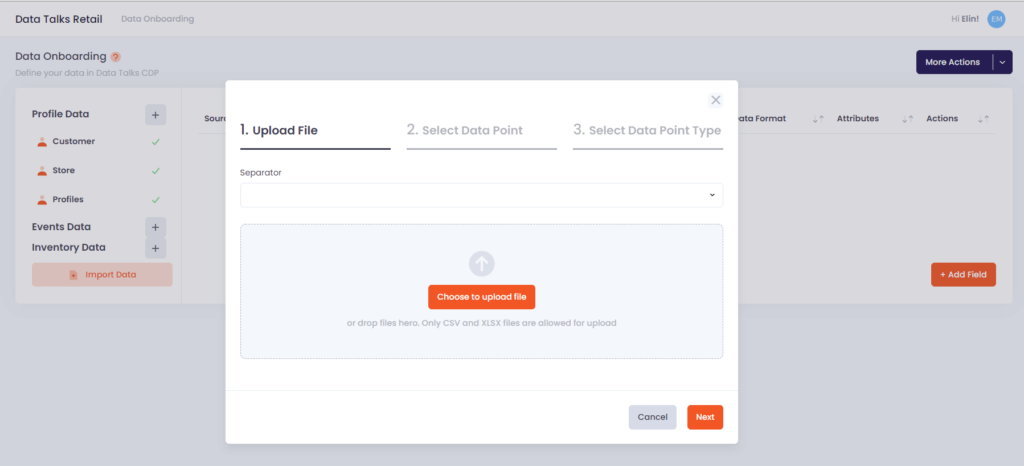
- You also have the option here to import your own data. Click on the Import Data button and you will be prompted to complete three steps and our CDP will structure the data onboarding according to your needs.
- Upload File: Choose your file that you want to upload. CSV and XLSX formats are accepted. Also choose which separator you would like to use as a separator of data.
- Select Data Point: Here you select which Data Point you the data to be imported under. You can choose from the Profile Data, Events Data or Inventory Data categories.
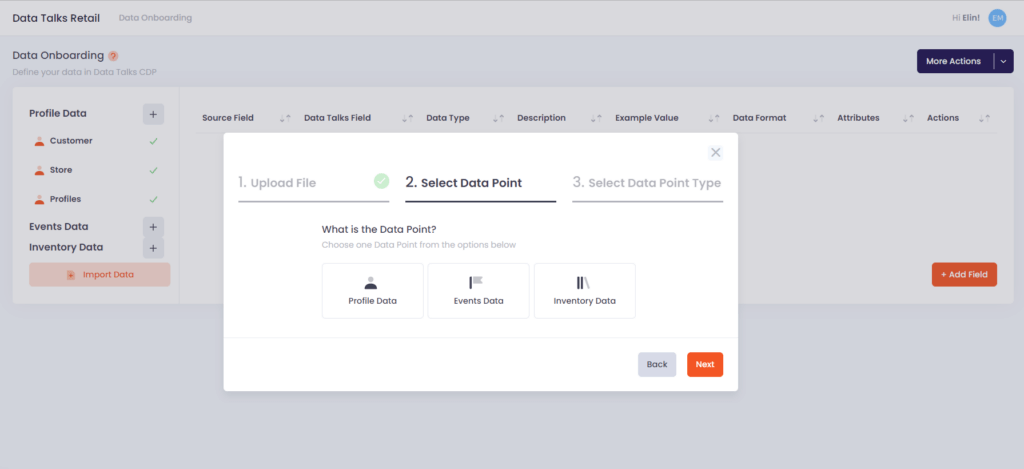
- Select Data Point Type: Here you select which Data Point Type you want it to be imported to, i.e. which subcategory you want. You can choose to replace data in existing ones (e.g. Customer, Store or Profiles in the image below) or create a new Data Point Type.
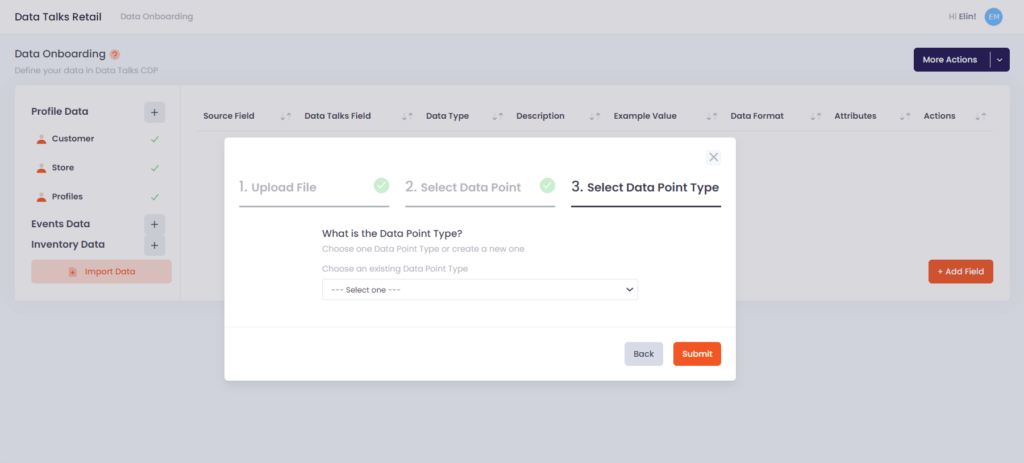
- Lastly, you need to click Submit and our CDP will organize your data accordingly, and it won’t be necessary for you to add your data rows manually.
Defining your data #
- In each Data Point Type you need to define your data and this can in addition to the “Import Data” option above be done manually.
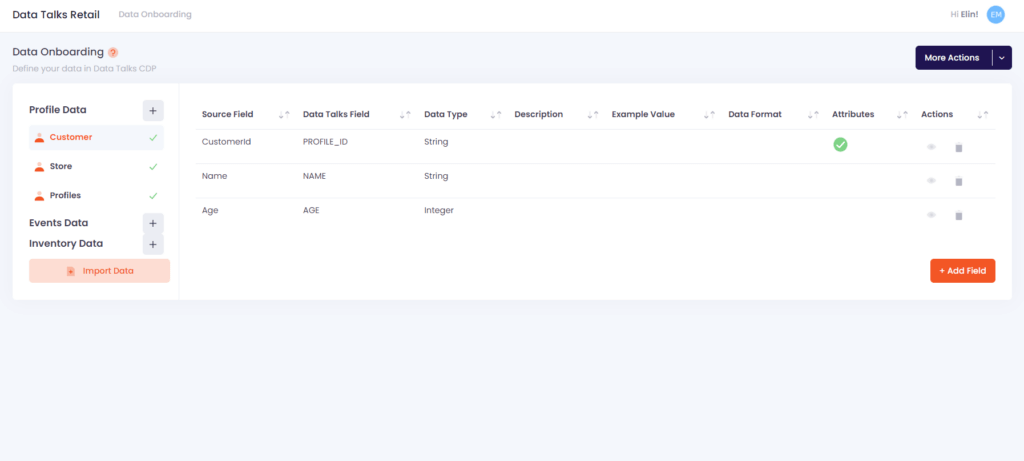
- When clicking on any Data Point Type that you have defined you will see an ‘empty’ template with different categories defined at the top. The image below is populated with three examples of data rows.
- When you want to add a field (a row) you simply click the +Add Field button in the bottom right corner, and a bar will appear on the right side (as seen below).

- Here you will need to specify the following in order to submit new fields to the data onboarding template:
- Source Field: This is the field you are using yourself to identify your data in your own file format. E.g. in your data you have ‘CustomerId’ as a type of data, then this is what you write in Source FIeld.
- Data Talks field: What you write in this field is what will be shown in our CDP as an attribute, i.e. you can name it however you like and it will be reflected in the CDP.
- Data Type: Here you fill in what data type it is from a drop-down menu. You can choose from ‘String’, ‘Integer’, ‘Floating’, ‘Boolean’, ‘Array’ or ‘Object’.
- Data Format: If the data you are submitting needs to be in a specific format. E.g. if you are adding Date as a field you might want it in a certain date format, for instance YYYY-MM-DD.
- Example value: Here you can also clarify for any other person in your organization by giving an example value of the field you are providing. E.g. if you are adding postcode as a field you can give it an example value of 123 45 to show that this is what it should look like.
- Description: Add a description of the field if you want to.
- Field Type: Here you are able to add if the field is a unique or an optional attribute. The default is always that it is a mandatory field.
- Unique: By flagging that is unique it should be an attribute that uniquely can identify the Data Point Type (in the image above a Customer, Store or Profile). It is up to you which attribute you want to use as an unique identifier. By clicking the unique option a green icon will appear under the Attributes section.
- Optional: If you want a field to be optional, meaning that Data Talks still can fetch your data even if this field is not found, you need to flagg the field as optional. When flagging it as optional a grey icon will appear under the Attributes section.
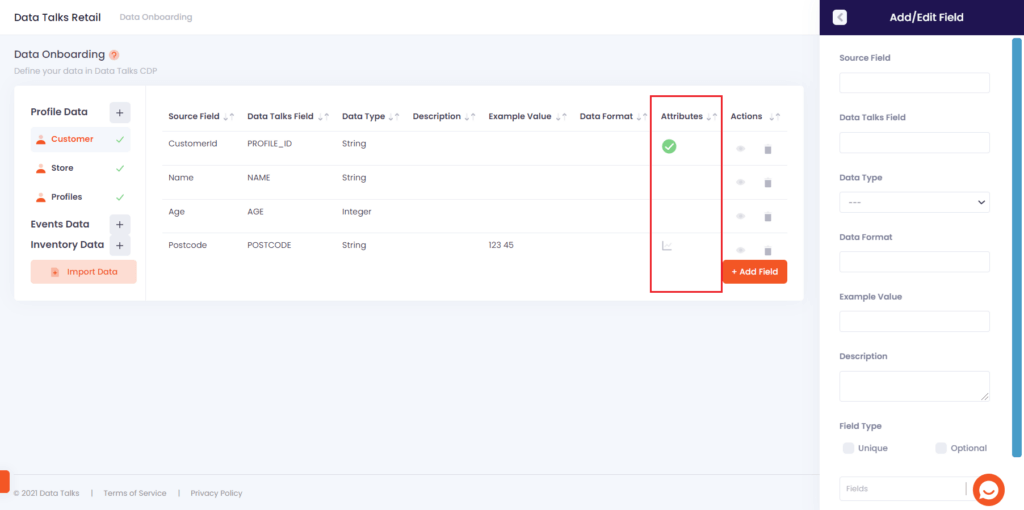
- Lastly, click submit in order to add the field.
More actions #
- In the upper right corner there is a More Actions button with the options to a) Validate Payload or b) Generate JSON Example.
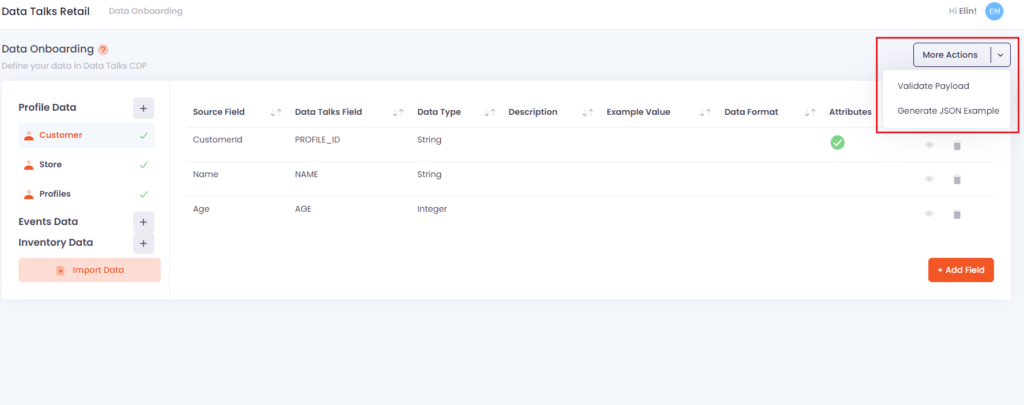
- Click on Validate Payload to be able to validate your payload in text format that you will send via API call or if you send us a CSV or JSON file.
- Click Validate Text and paste your payload into the box. Click validate and you will be notified that we can accept it or if something is missing.
- Click Validate File and upload your CSV or JSON file and choose which format you have uploaded under Data Type. Click Validate to see if your file will be accepted by Data Talks.
- Click on Generate JSON Example to get an example of what your payload would look like in JSON format. You can use it to copy and paste into your code to know that this is how your JSON should look like when you submit it to us via the Data Talks API.